
Migrating from VirtualBox to Proxmox
In the world of virtualization, the choice of virtualization platform can significantly impact the efficiency and scalability of your projects. Due to prior experience with VirtualBox for smaller projects at an internship, I started by hosting my first couple VM’s with VirtualBox, a software by Oracle. VirtualBox served as an excellent starting point due to its user-friendly interface and simple setup. Yet, as my requirements grew more complex, the limitations of VirtualBox became apparent. I experienced unexpected crashes and peculiar issues, which were not common when I experimented with other virtualization solutions like Hyper-V or Proxmox.
These challenges, coupled with a colleague’s recommendation, led me to explore Proxmox as a more stable and scalable alternative. This blog post documents my experience migrating from VirtualBox to Proxmox, prompted by the need for a more dependable environment and the advice of a trusted peer.
If you have not done so already, check out my guide on installing Proxmox.
Current Hardware Overview
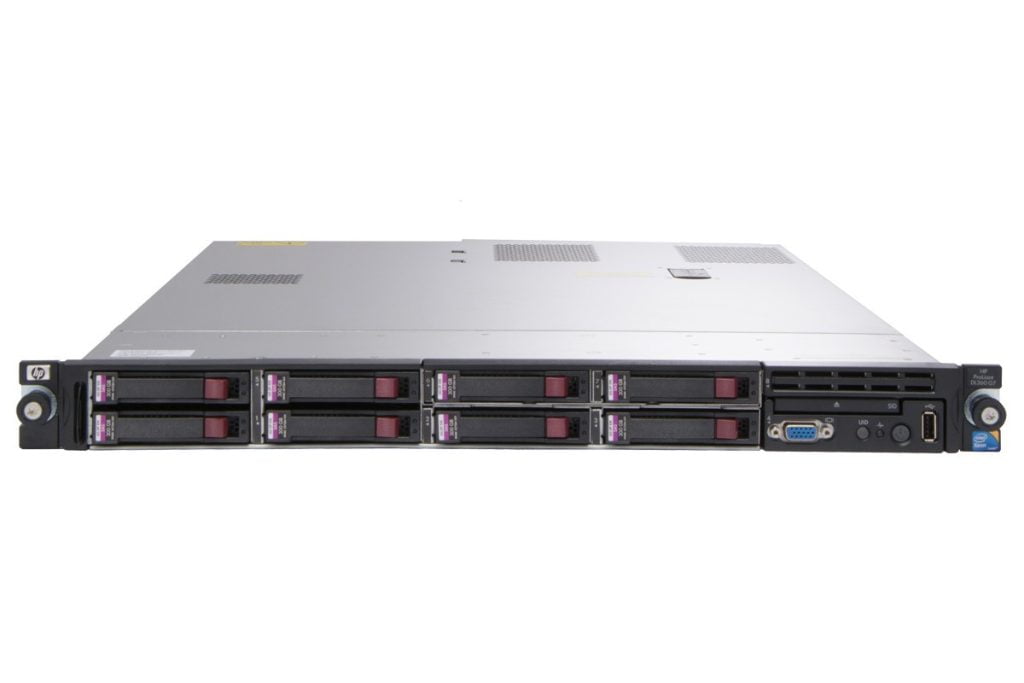
HP ProLiant DL360 Gen 7
- Processors: 2x Intel Xeon X5675
- Memory: 64GB of ECC RAM
- Storage: 4x 3.78TB HP SSDs
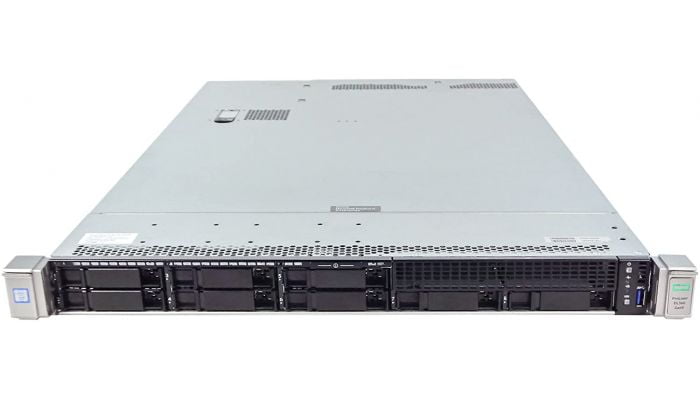
HP Proliant DL360 Gen 9
- Processors: 2x Intel Xeon E5-2640
- Memory: 80GB of ECC RAM
- Storage: 2x 1.0TB Samsung 860 SSDs
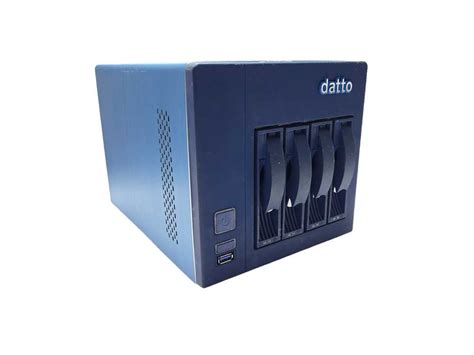
Datto AXL3000
- Processor: Dual-core Pentium (specific model not specified)
- Memory: 16GB of Non-ECC RAM
- Storage: 2x 3TB HDDs, 1x 256GB Crucial SSD
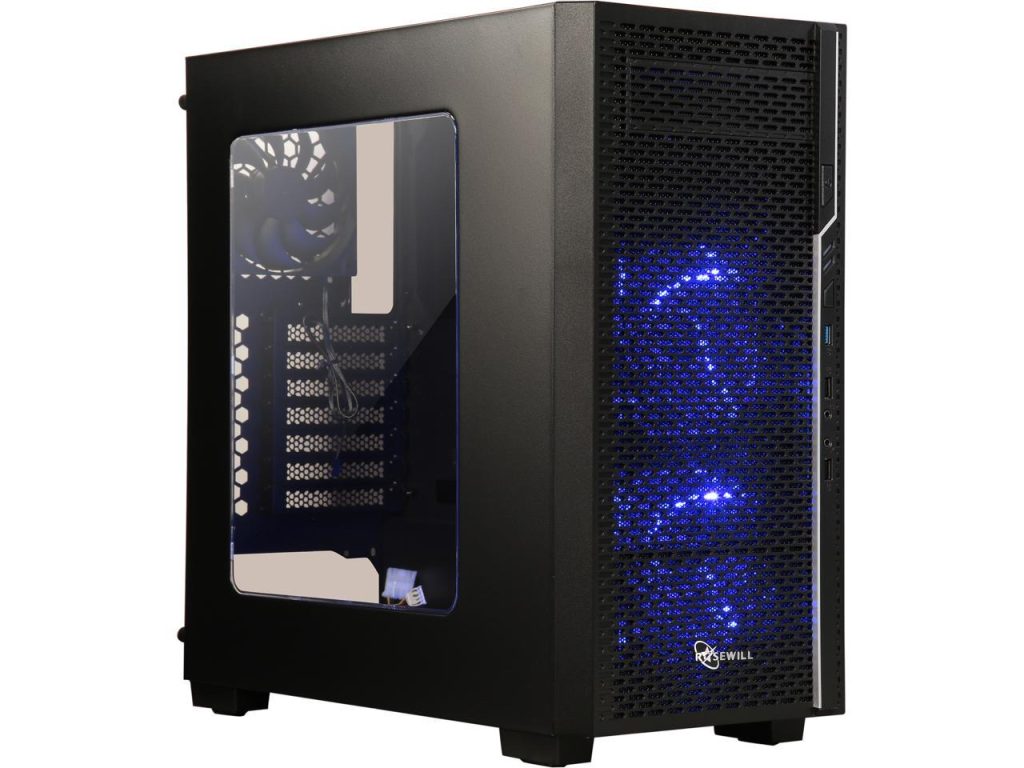
Custom Built Tower
- Processor: 6 Core Xeon (specific model not specified)
- Memory: 64GB of Non-ECC RAM
- Storage: 2x 10TB HDDs, 1x 500GB Crucial SSD
Migration Plan
1: Preparing the Proxmox Environment
- Install Proxmox on the Gen 9 server, which will act as the initial migration destination for VMs from the 3 other servers.
2: Transitioning VMs from the Gen 7 Server
- Move one VM from the Gen 7 server to the Gen 9 server with Proxmox.
- Backup remaining VMs on the Gen 7 server for reimporting after Proxmox installation.
3: Repurposing the Datto Device
- Convert the physical hard drive of the Datto AXL3000, which runs the Samba file server, into a VHD using the Sysinternals tool for Windows.
- Convert the new VHD to an IMG and upload it to the Gen 9 server.
- Utilize the Datto device’s chassis to house four 3.5″ HDDs and connect them to the Gen 9 server with a Mini SAS to 4 SATA SFF-8087 cable for a ZFS array.
4: Managing the Custom Built Tower’s Media Server
- Migrate the 2x 10TB media server array from the custom tower into the new ZFS array on the Gen 9 server.
- Set up a new VM dedicated to the media server on the Gen 9 server and forward the 10TB array.
5: Finalizing the Migration
- Once all services and VMs are running on the Gen 9 server, install Proxmox on the Gen 7 server.
- Migrate the necessary VMs and services back to the Gen 7 server as required.
6: Array Configuration
- Configure the ZFS array on the Gen 9 server for optimized performance and redundancy, ensuring the continuation of services like the file server and media server.
7: Testing and Verification
- After all migrations and configurations are complete, I thoroughly tested all systems and services to ensure they are functioning as expected.
This migration will consolidate my virtualization environment onto two robust ProxMox servers, allowing for better scalability and management of resources. If you do this yourself, remember to plan for downtime, make sure you have solid backups, and verify each step of the process for a smooth transition.
Completing the Migration
Backing Up Data
Before we begin, we need to make sure that all of our data is backed up. In my case, I have off-site cloud backups and local copies of all my data already in place so we don’t need to worry about backing up my data.
Remove VirtualBox Guest Additions
Now that we have fully backed up everything, we need to remove the VirtualBox guest additions from the vm’s. This varies by operating system so I will outline Ubuntu and Windows below.
For Linux:
Run these commands in the terminal on the virtual machine. The advantage of this method is that this can be done at any point before or after the migration.
sudo rmmod vboxsf
sudo rmmod vboxguest
sudo rmmod vboxvideo
For Windows:
- Start your Windows operating system that had the VirtualBox Guest Additions installed.
- Open Control Panel, then go to Programs and Features.
- Find VirtualBox Guest Additions in the list of installed programs.
- Select it, and then click on Uninstall.
- Follow the on-screen instructions to complete the uninstallation process.
- Restart your computer if prompted.
Converting Virtual Disks
I have only ever converted disks on Linux, but the commands for Windows are very similar. Shoutout to ttist25 on this forum post for helping me out with this process. As they mention in their post, this process does take quite a while depending on how big the disk is, so please be patient.
- Open a terminal on the VM controller
- Navigate to the folder where your virtual disk lives. In my case I use
cd /home/[username]/VirtualBox VMs/[VM]to access the virtual box directory. - Now that we are in the correct directory we can convert the disks.
Convert VHD to VDI
sudo vboxmanage clonehd [virtual_harddisk].vhd [virtual_harddisk].vdi --format vdiConvert VDI to IMG
sudo vboxmanage clonehd --format RAW [virtual_harddisk].vdi [virtual_harddisk].imgIt should be noted that unless otherwise specified the converted .img disk will be saved to the same directory we as the original .vdi disk. You can specify a specified output location by simply specifying in the command like the following:
sudo vboxmanage clonehd --format RAW [virtual_harddisk].vdi /mnt/external/[virtual_harddisk].imgThis command would send the converted disk to an external drive mounted to /mnt/external
Update Disks Permissions
Once these disks are finished you may notice that they were generated with fairly restrive permissions and applications like FileZilla won’t be able to access them. We need to update their permissions with the following commands:
sudo chmod 600 [virtual_harddisk].imgsudo chown [username]:[username] [virtual_harddisk].imgUploading Disks to Proxmox
Now that we have the files converted, we are ready to upload to the Proxmox server.
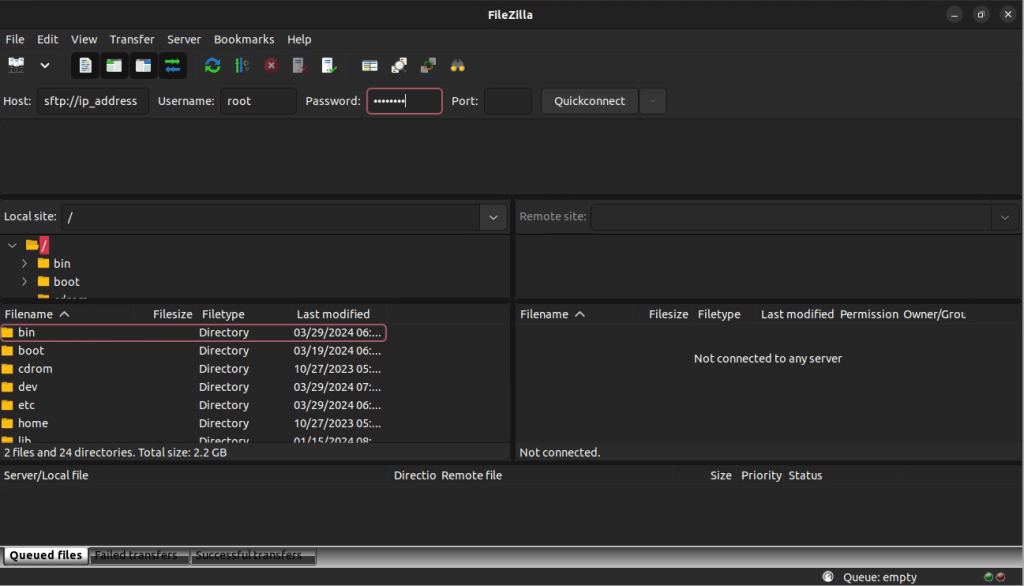
- Download and install FileZilla on your VM controller. In my case that was Ubuntu, so I installed it as a snap with
sudo snap install --beta filezilla. - Open FileZilla, configure the connection, and hit ‘Quickconnect’. This will be done with the config below.
Host: sftp://[ip_address_of_server]
Username: root
Password: [proxmox_password]
- Once connected, I will create a folder under
/mntcalled vms and mount an external drive. This will allow me to store the disks without taking up storage on the Proxmox server itself. - I will then upload the .img disks to
/mnt/vms. This of course takes quite a bit of time depending on a few factors, so I let this run overnight.
Setting Up Proxmox for Import
While I was waiting for the FileZilla upload to finish, I figured I’d go ahead and configure the Proxmox VM’s for the import in the morning. I will walk through the steps below:
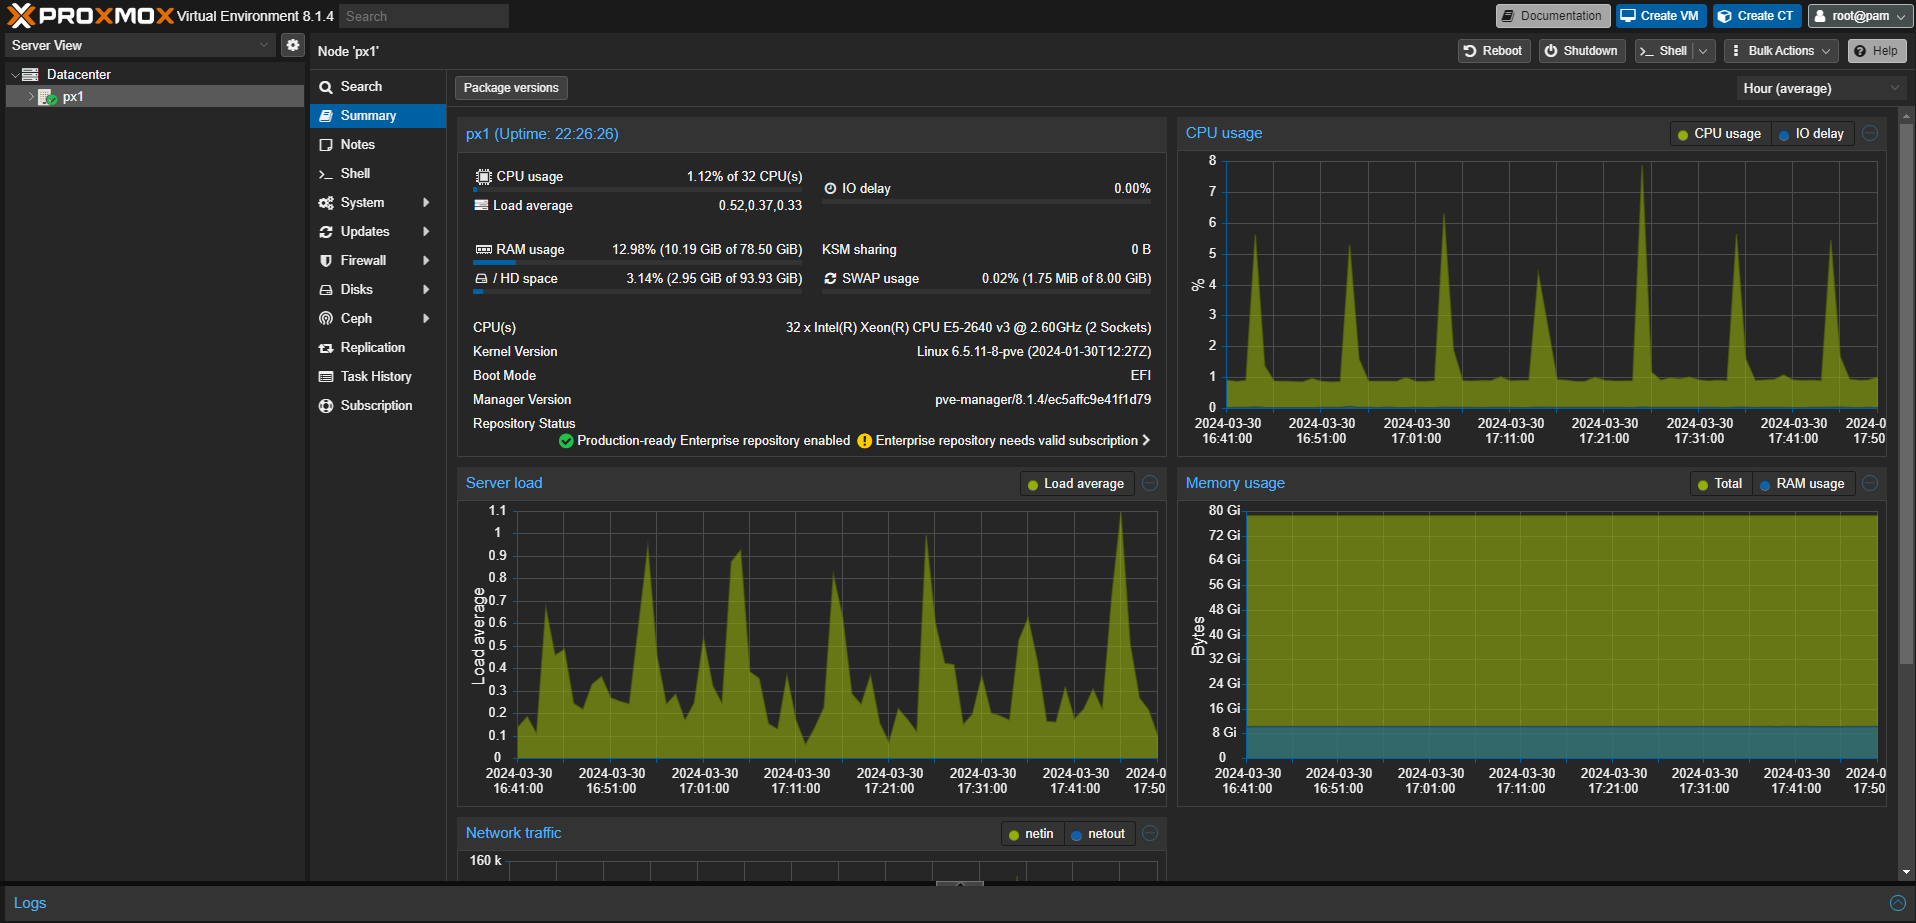
- Login to the Proxmox web server, usually located at http://ip_address:8006. Once logged in you should see the dashboard.
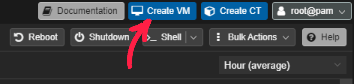
- Click on Create VM
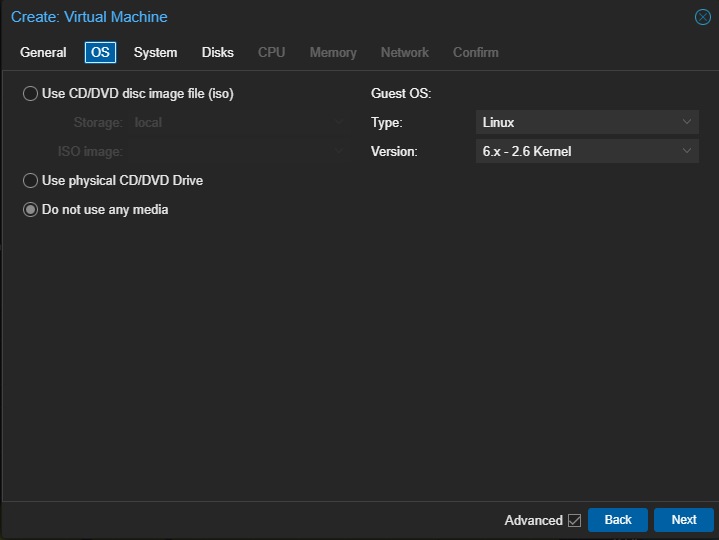
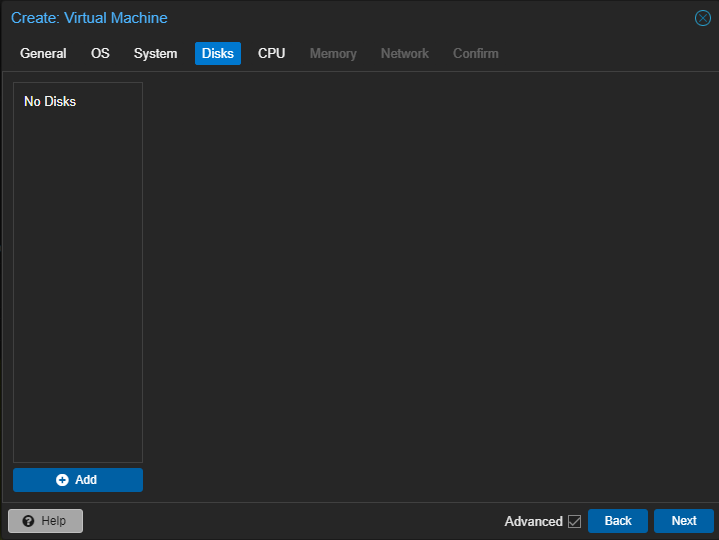
- Leave all of the defaults. For the iso, ensure it is set to ‘Do not use any media’
- In the Disks tab, go ahead and delete any disks. We will not need any as we will be importing them.
- Once the VM has been created, notate the VMID on the machine.
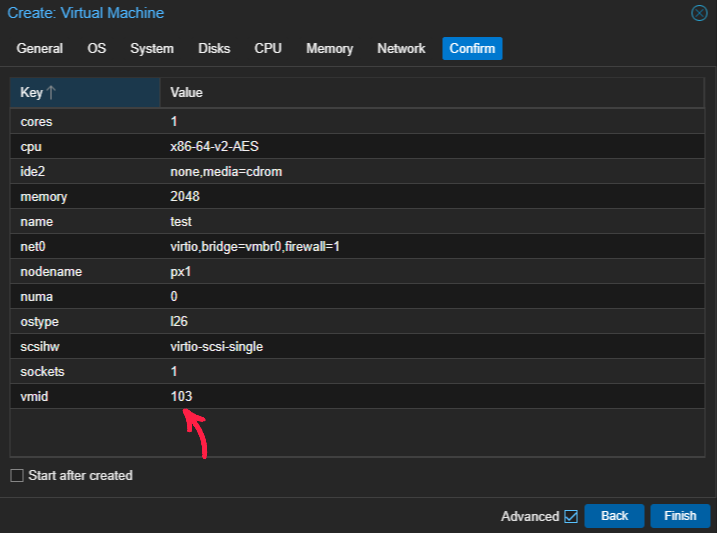
- Now that we have the VMID, we can move onto importing the disks. This will be done through SSH.
SSH Into Proxmox Server
Now that everything is ready to import, I will ssh into the server in order to initiate the import. This can be done locally on the machine itself and all the command will be exactly the same.
In case any one wants to know, I am using MobaXterm Personal Edition as my SSH client.
- SSH into the Proxmox server. Feel free to use whatever method you are familiar with and in case this is the first time, please see some documentation here.
- Once we are logged in, run the following command to start the import process.
qm importdisk [VMID] [virtual_harddisk].img local-lvmThis command will initiate a .img import into the storage medium of your choice. In my case, I am using the default local-lvm storage pool.
This of course is another lengthy process, so in the meantime, I continually paced around waiting for the jog to finish. This is of course the best use of my time.
Starting the VM for the first time
Now that we have successfully imported the disks from my old machines, we are ready to attempt a first-time boot. Of course, at this point my anxiety is at through the roof, but don’t be like me; everything will be okay.
- Navigate back to the ProxMox web server and navigate to the VM you just created.
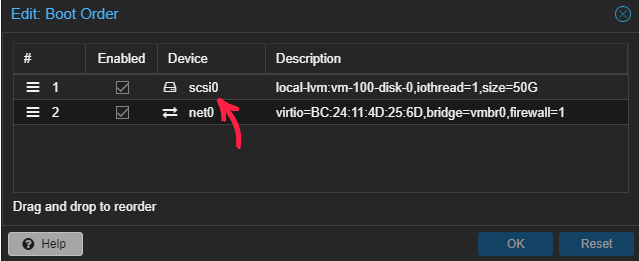
- Go into the options tab and ensure that your disk is is selected as a boot option. In my case I am using the VirtIO SCSI single controller, so I needed to select scsi0.
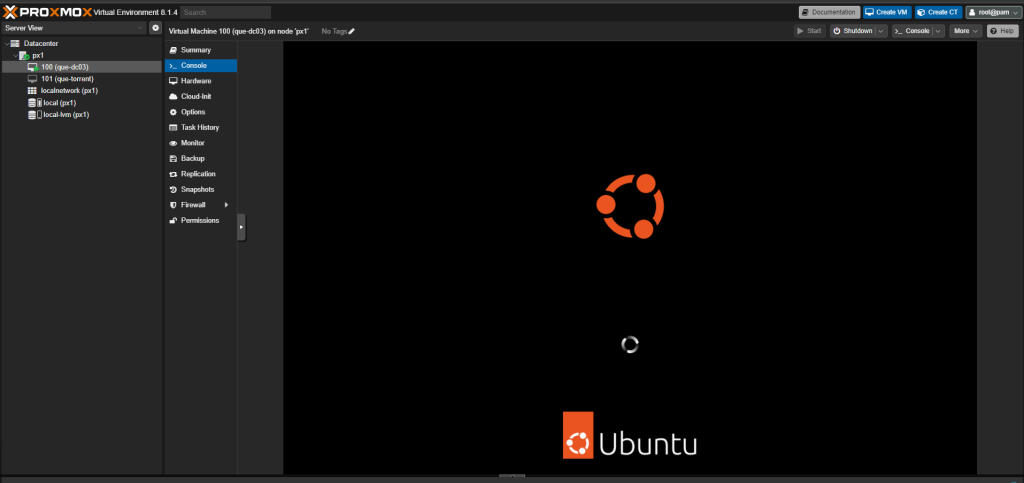
- Now, we are finally ready to boot up the VM. Navigate to the console and hit ‘Start Now’
Success
After a moment or two, I saw the first signs of life as the Ubuntu splash screen appeared for the first time. The machine continued to boot and the familiar login prompt materialized on the screen. The successful boot was a reassuring indication that the VM had survived the migration intact. With a sense of relief and accomplishment, I proceeded to log in, eager to verify that all services were running as expected.
After I verified that this VM was successful, repeating the steps with the remaining machines was pretty straightforward and I am ready to install Proxmox on my old Gen7 ProLiant server.
If you found this helpful or have some feedback, comment below.
Leave a Reply
You must be logged in to post a comment.